WelcomE to
My Blog
Who knew a borrowed camera could lead to living the good life!
I now travel the world capturing the sparks that first inspired my couples to say 'I do!'
I'm Chels!
MORE ABOUT ME
Personal
Main Categories
Youtube Training
What lens should I buy?
Hey!
Hey!
(When just beginning)
Planning your next styled shoot?
Download my 'Styled Shoot' Checklist to help out!
yes!
Snag it!
For Photographers
For Brides
DIY Textured Styling Board for Wedding Photographers
Having a beautiful background has the ability to completely transform an image, playing an essential role in the final look and feel. And the same is true when photographing flat lays, invitation suites and getting ready photos on the wedding day.
With flat lay photography any stationary surface can act as a background – from the floor, to a chair, couch or table. However, many times surfaces found within the getting ready space or venue have colors, patterns or textures that just aren’t cohesive with the overall wedding design. Enter…
Styling boards!
With styling boards (also known as styling surfaces) we’re no longer at the mercy of our environment.
On wedding days, this enables me to control the background of my images so that details I capture beautifully blend with the images from the rest of the wedding day. This helps me create a cohesive final gallery from the very beginning of the day to the very end.
I have boards in many different materials and colors, from blush and dusty-blue to more neutral tones of white, cream and grey that match with a large variety of weddings. Many of my boards have been purchased (See my video on ‘What’s in my Styling Kit‘), but I also love creating custom boards for special projects and styled shoots. I’m sharing my whole process on how to make a styling board from home (for under $20) in just 3 simple, easy and fun steps!
MATERIALS NEEDED
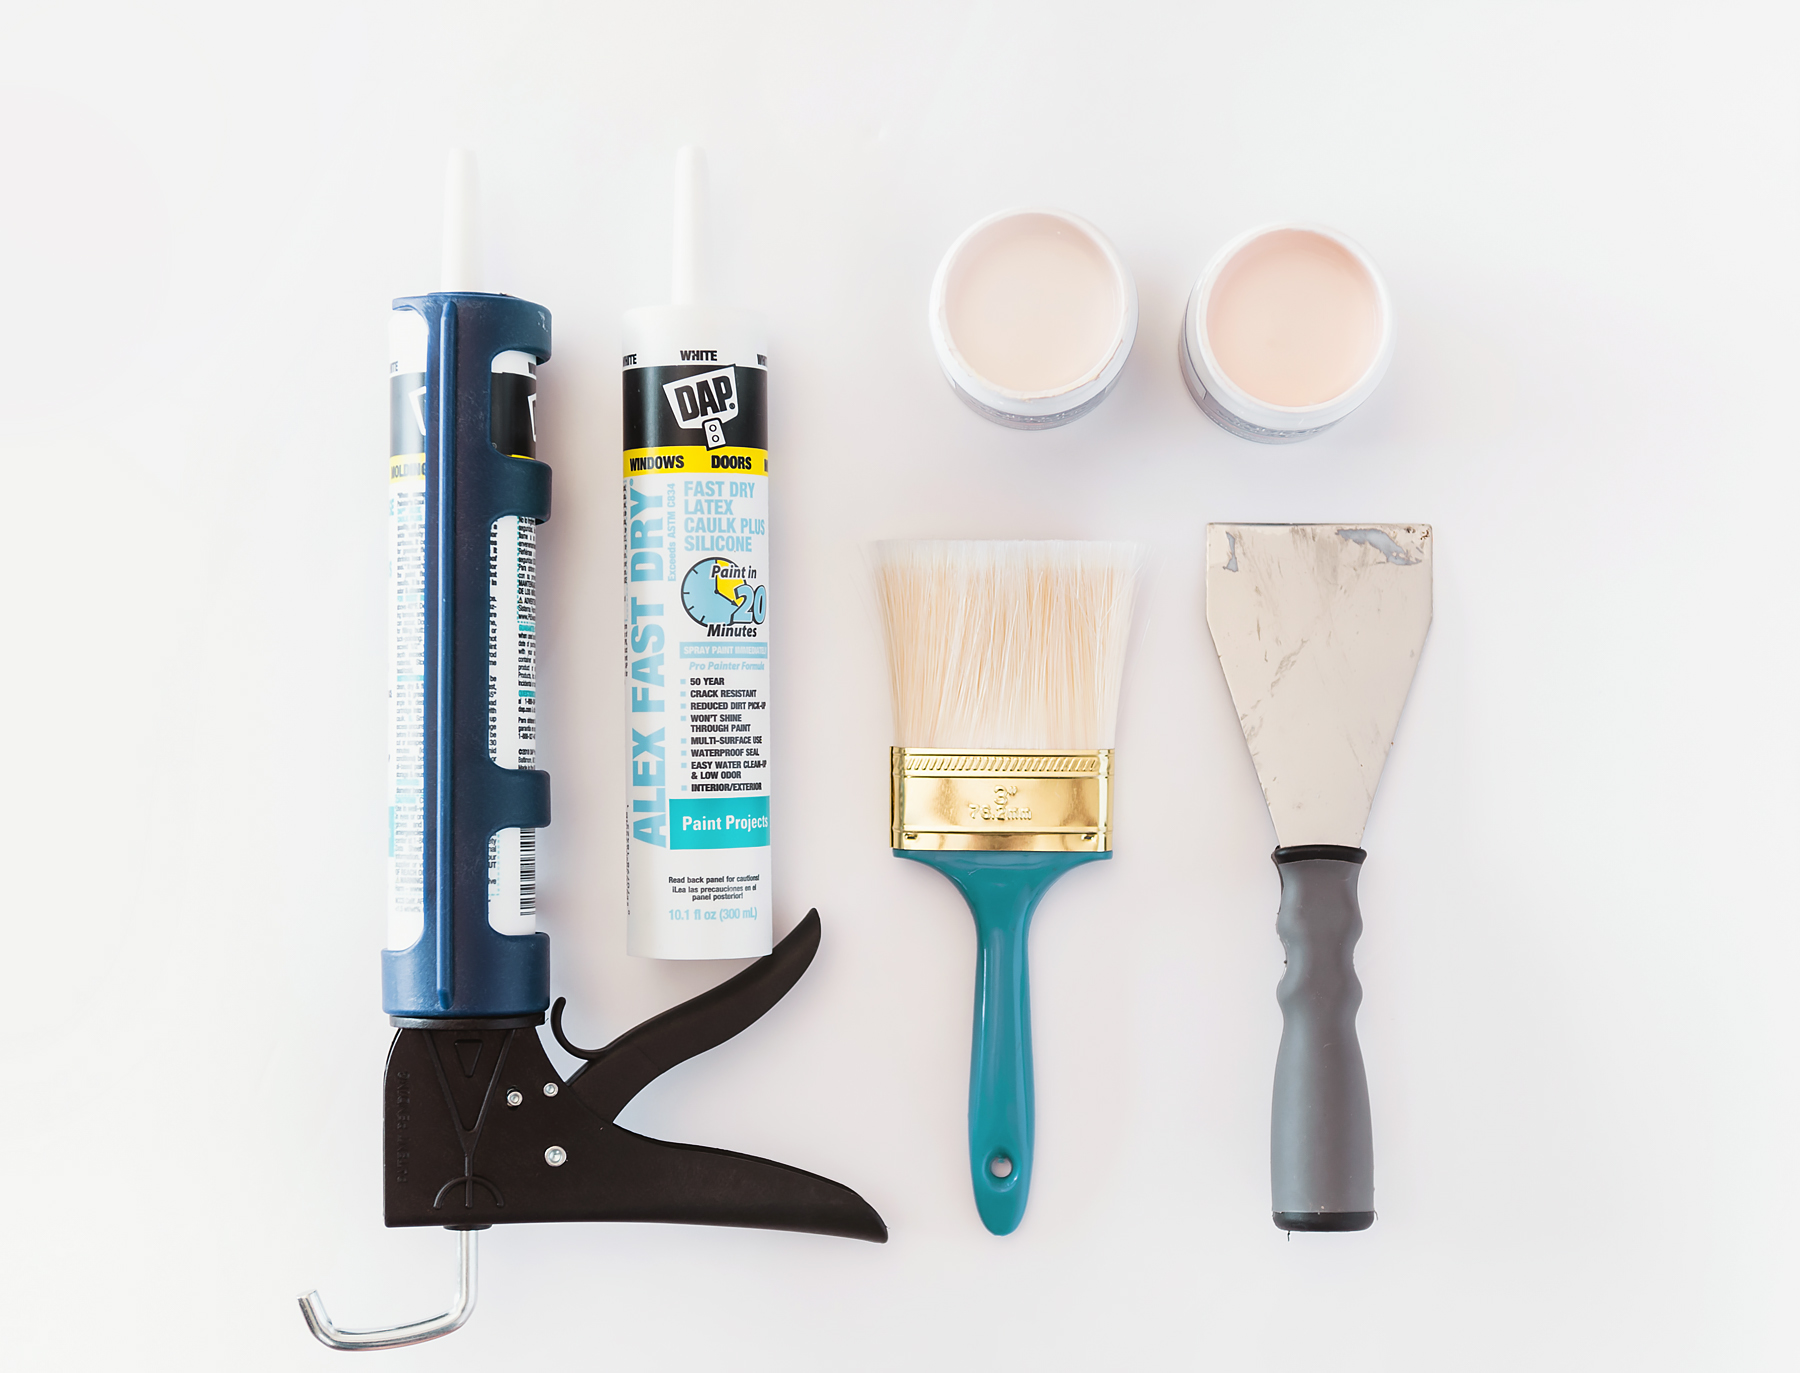
- Surface: Foam board, canvas, thin plywood or any thin solid surface (16×20 or larger)
- Texture layer: Caulking or Tile adhesive
- Paint: Acrylic or Sample paint (non-gloss)
- Putty knife
- Paint brush

STEP-BY-STEP
Step 1: Apply your caulking or tile adhesive all over the board
Step 2: Smooth using putty knife going in even sweeping movements, varying the direction as you go. Keep working it until the full board is covered and you like the texture. Let dry completely (1hr+) If you touch your surface it should feel dry and firm.
Step 3: Paint! Start with your darker color first, covering the entire board. Next, lightly brush a lighter color in a similar shade to add variety and dimension. This is optional depending on the look you want. Also, instead of two colors you can optionally mix white paint with your darker color.
Watch the video for the full tutorial & more tips!
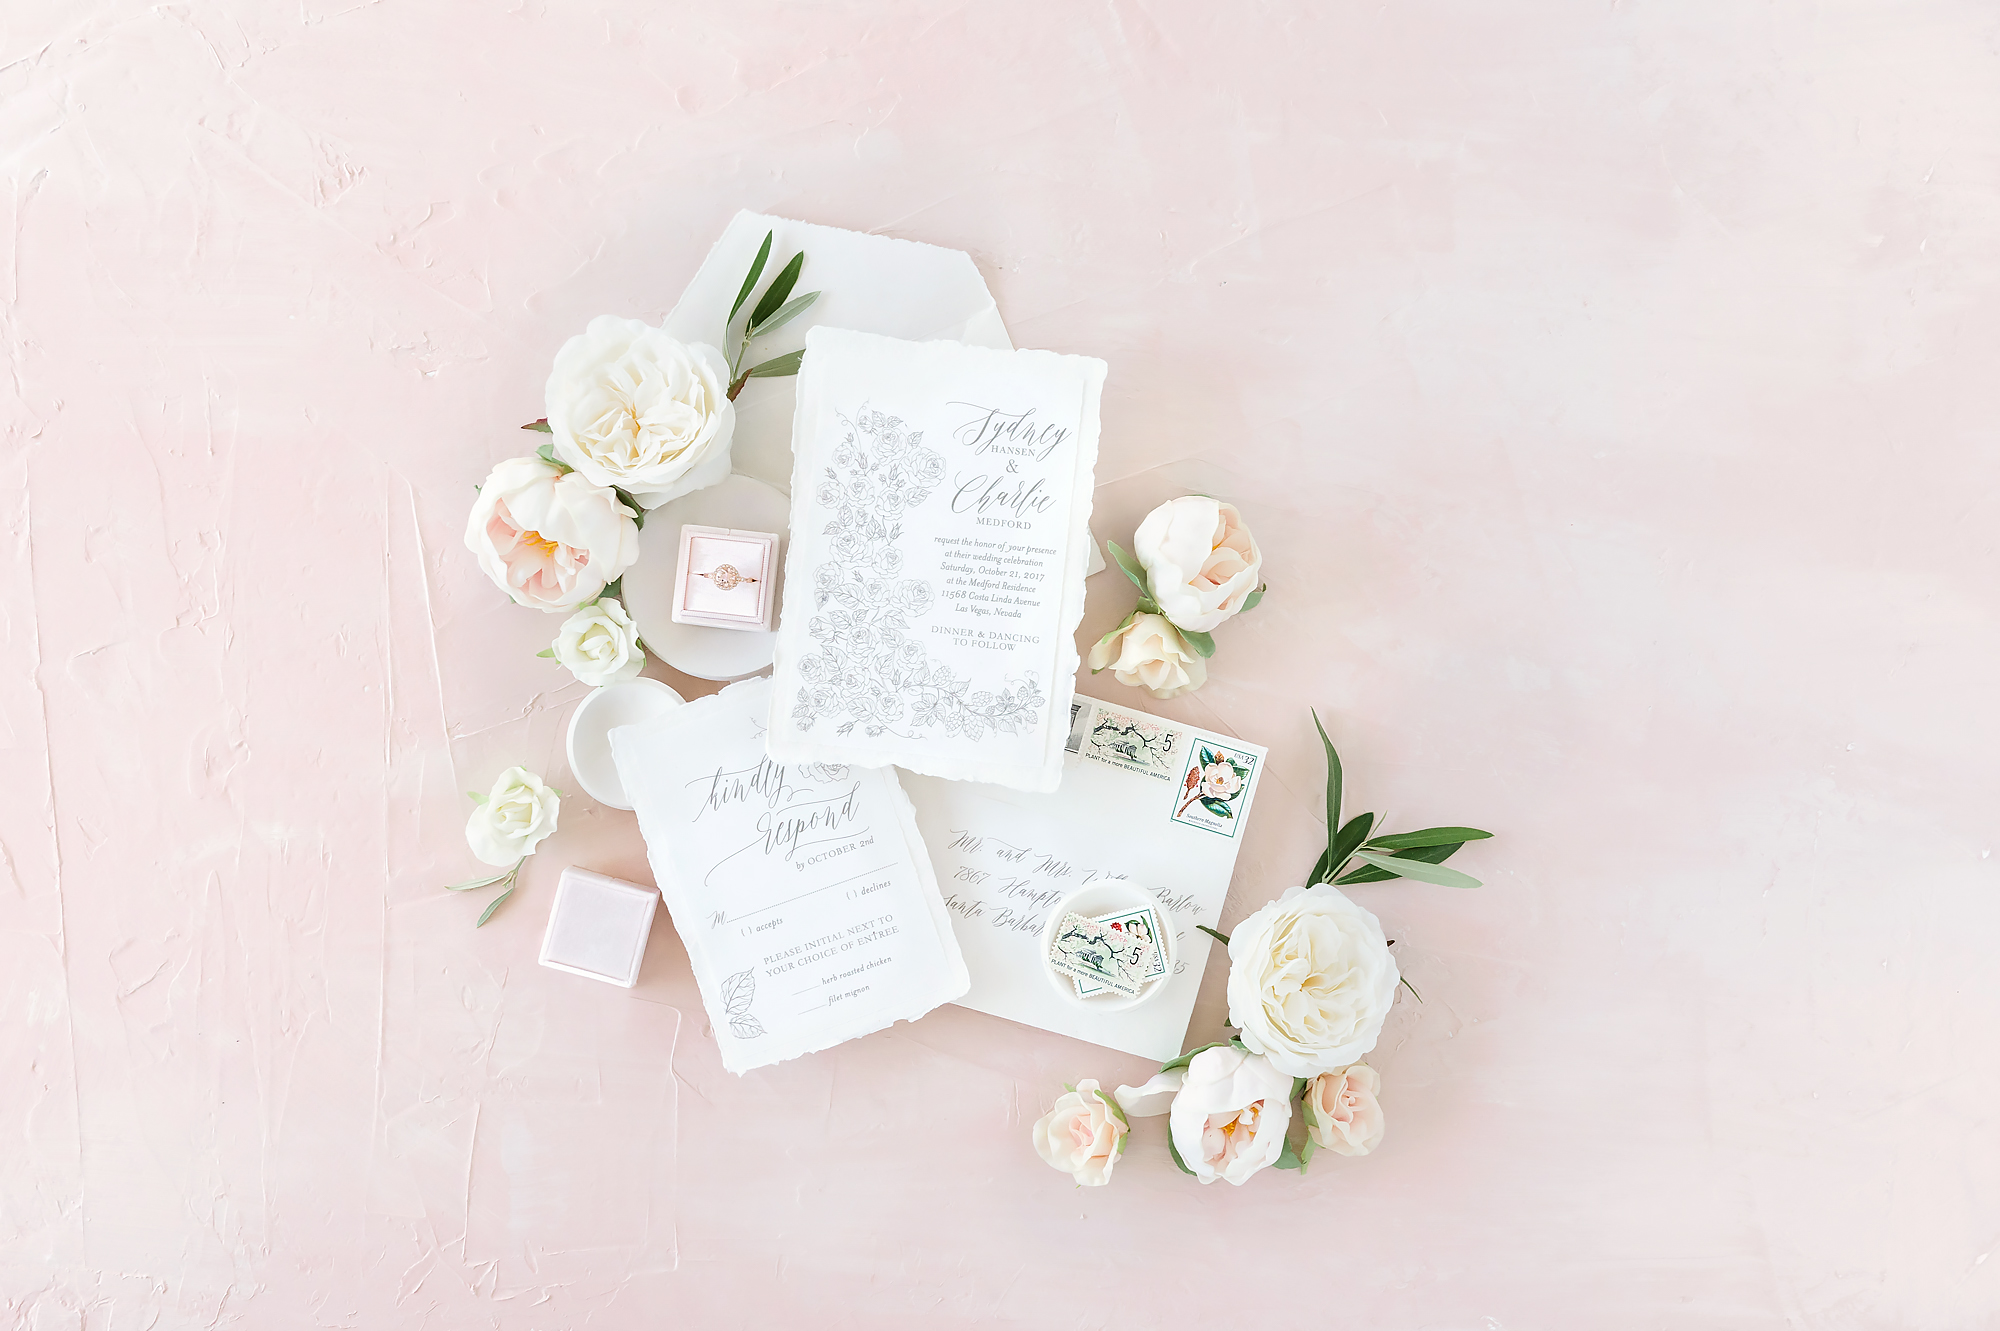
FINAL STYLING BOARD

I hope you have fun creating your own custom styling boards!
If you enjoyed this tutorial, check out the others in my Flat Lay photography series:
► How to Photograph & Style Wedding Invitations
► What’s in my Styling Kit for Photographing Wedding Details
► 5 Essential Steps to Great Flat Lay Photography [Full breakdown]
Happy shooting!
xoxo
Chelsea Nicole
CREDITS: Invitations designs: She Paperie • Vintage Stamps: Little Postage House • Ring box: The Mrs Box • Styling Boards: Custom • See my full styling kit here: Wedding Day Styling Kit
| Designed by Revision seven
© 2023 Chelsea Nicole Photography
Take me up!
Quick Links
Chelsea Nicole is an internationally recognized Photographer/Educator based in Las Vegas, Nevada. Serving worldwide.
Let's Connect!
Vibrant Hearts Unite.
Take me up!
education
Blog
Connect
Home
Meet Chels
Info & Pricing
For booking info, click here
®